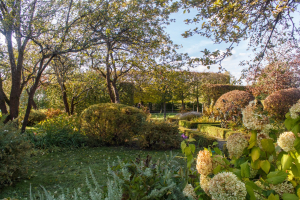
Brighten up your garden this Autumn with this handy step by step guide
Thinking about painting the garden fence ?
Most of us assume it's going to be a long, process and we put it off for as long as possible ...... and then finally give in when we see how good our neighbour's new paint job is looking !
First things first, we're here to tell you that it doesn't have to be such a chore! And its a great way to spruce up your garden.
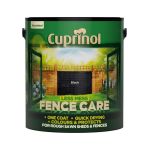
Most fence paints including Cuprinol, you get a few years of all-weather protection, so you can rest assured that you won't need to repaint for a little while.
Pick a dry day and simply follow these steps below.
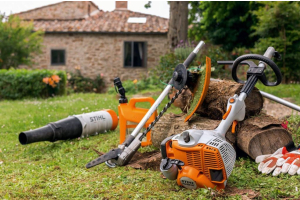
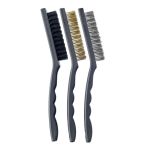
Step 1 - Brush off loose dirt.
Brush away any loose debris or cobwebs using a stiff brush. It's a good idea to pull out any old nails sticking out of your panels and to remove any hanging baskets or objects that might be in the way.

Step 2.
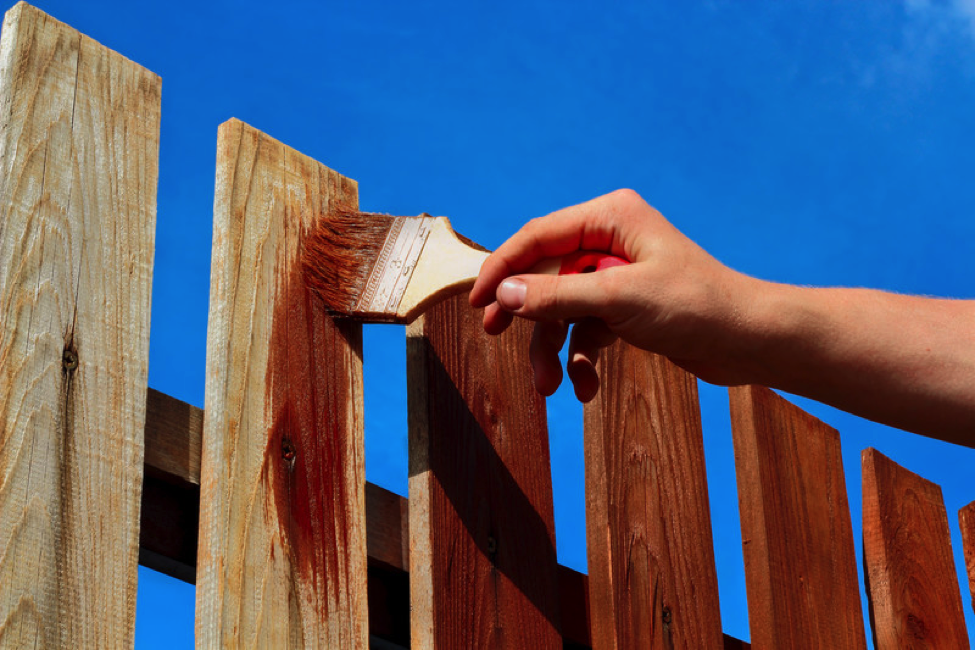
Use a small brush for fiddly bits. Start by painting the any edges or hard to reach places, such as near brick walls or delicate plants you made need a smaller brush for awkward gaps

Step 3.
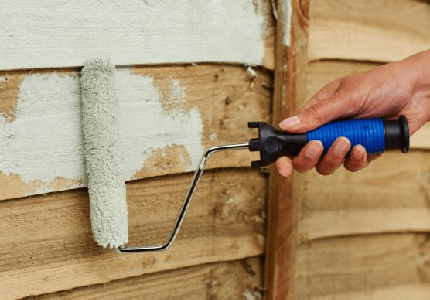
Use a roller or a bigger brush to cover larger areas.
Next up, depending on your style of fence use a roller / sprayer or a large paint brush to cover the main panels of the fence. Work your way from top to bottom . Following the direction of the timber will give you a better, smoother finish and allows for a speedier application.
Step 4.
Apply a second coat once dry. Once your first coat is dry, apply a second coat, repeating the steps above. This will help to give your paint colour depth and give your fence a longer-lasting finish.
Step 5.
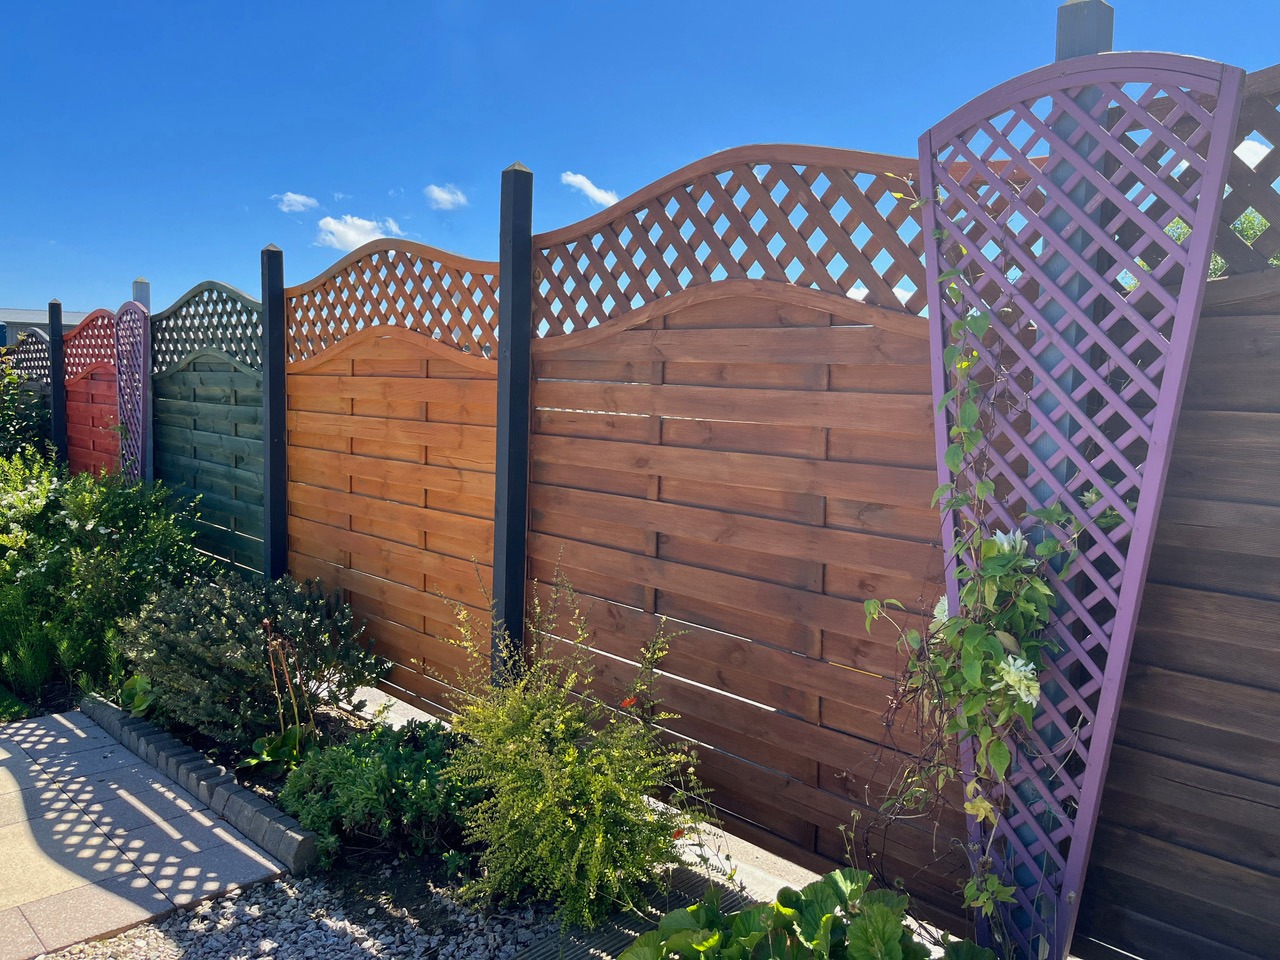
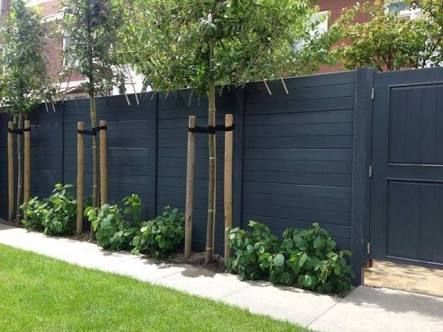
Step back and admire Once your second coat is dry sit and admire your freshly painted fences.


Short Code:
Credit Limit:
Current Balance: