Mortar Laying: How To Lay Porcelain Paving
Looking to start your next garden project, you should consider porcelain paving tiles!
In this blog, we discuss what this method is, and give you an easy step-by-step guide on how to lay your tiles. Keep reading to find out more!
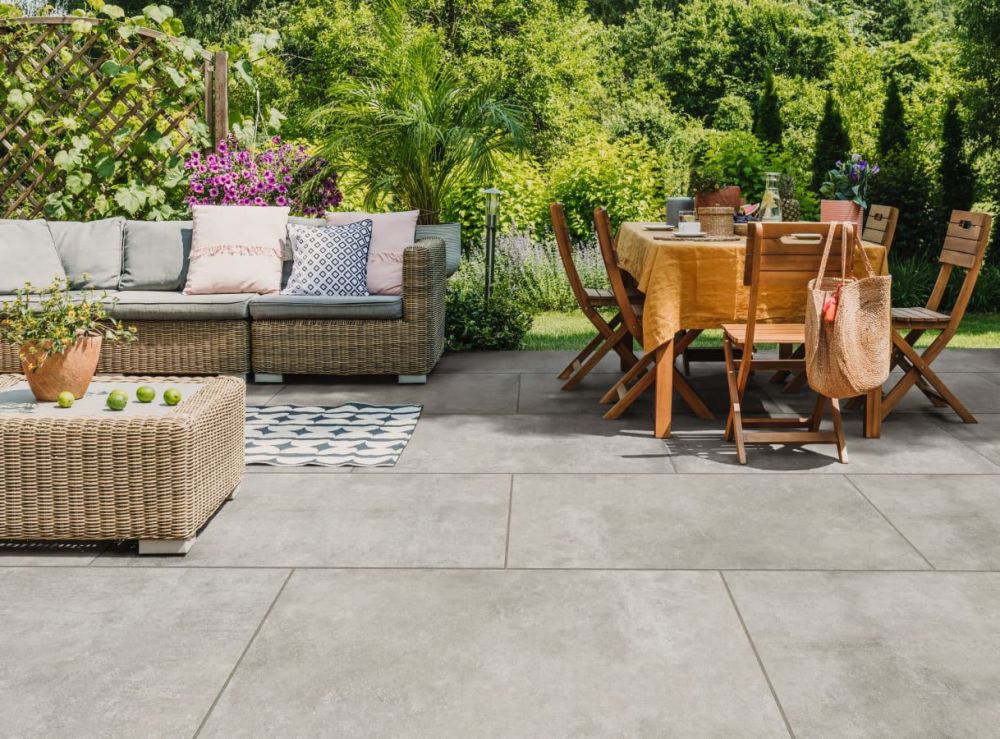
Porcelain paving is a great choice for outdoor flooring due to its durability, flexibility and aesthetic appeal. Porcelain paving is also easy to clean and maintain, you can read more about this on our How to Clean Porcelain Paving blog.
The main methods for porcelain paving installation: Mortar Laying and Pedestal Support Systems. This article will help walk you through the mortar laying process, to give you a rough guide and some great tips to help create a fantastic patio.
What Is The Mortar Laying Method?
Mortar laying is the traditional method of installing porcelain paving, which involves laying the paving on a bed of mortar, which is spread over a stable base.
Mortar is a combination of cement and sand, mixed to be a thicker consistency great for laying bricks and solid materials. This method is suitable for areas where the ground is level and there is little risk of subsidence.
Mortar laying is a cost-effective option, and provides a solid and durable foundation for your porcelain paving. To lay your porcelain paving on a mortar bed, here is a simple step-by-step guide ;
How To Lay Tiles Using A Mortar Bed
Step 1: Prepare Your Base
Clear the outdoor space where you will be laying the porcelain paving, making sure the ground is stable, level, and free of debris. Start by measuring out your intended location with pegs.
Removing any vegetation, roots or topsoil within the marked-out area to a depth of at least 200mm. After this process, pat down the area to create a dense and even surface, using a roller can help with this!
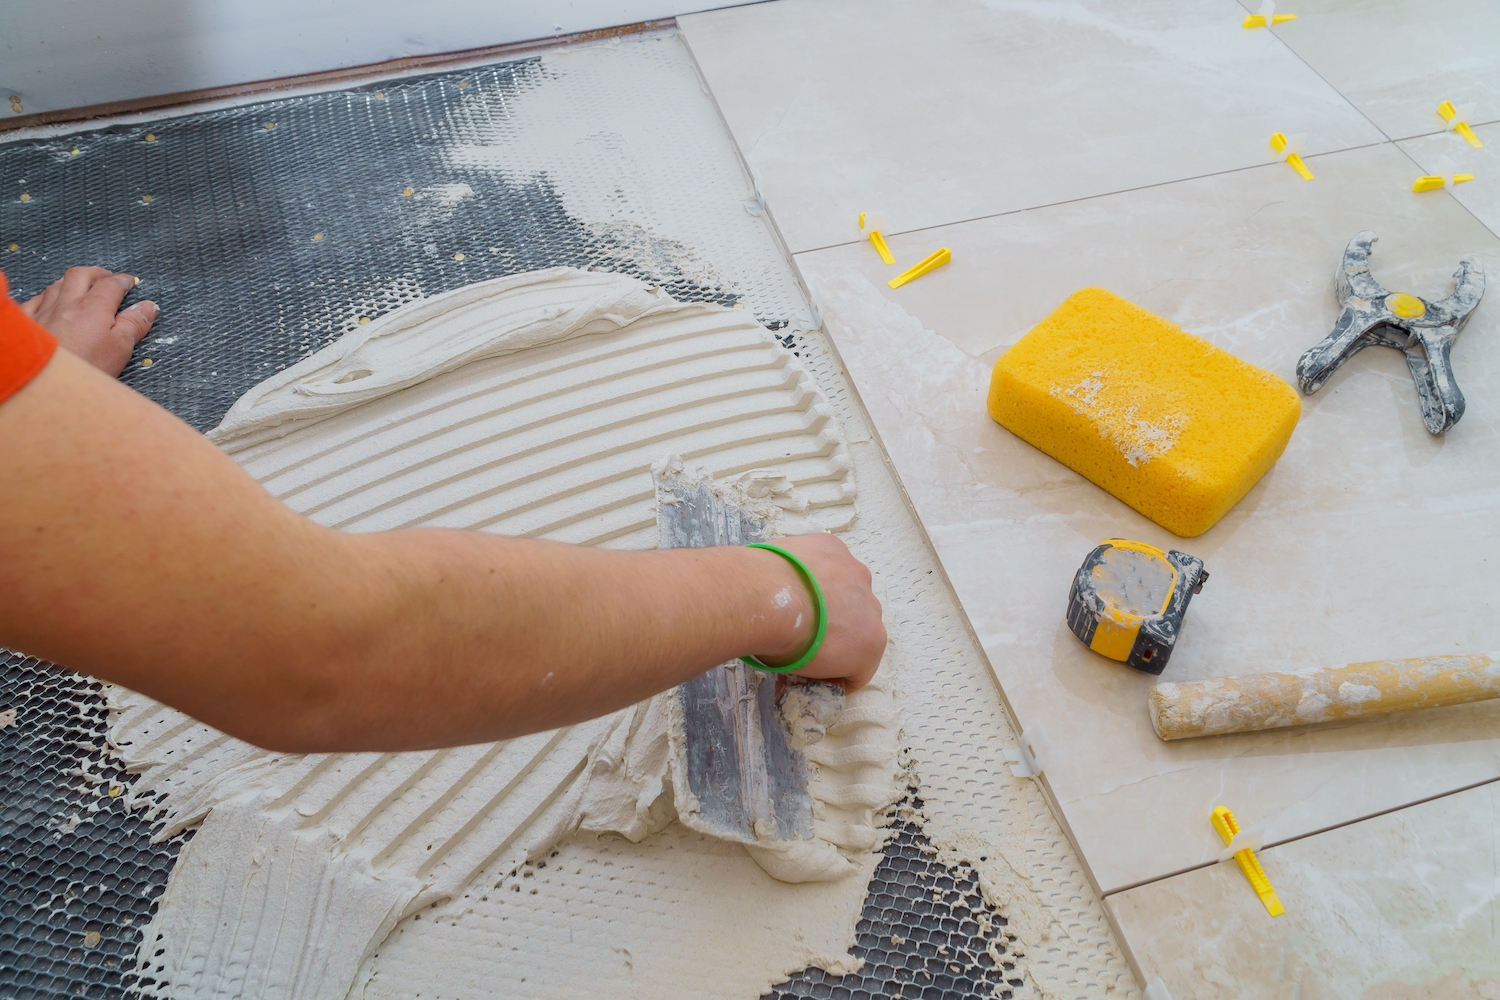
Step 2: Create A Mortar Bed
To create a stable base, we recommend laying a full bed of mortar with a 4:1 sharp sand/cement ratio, that's workable and semi-wet. Using a cement mixer for this step will help create a perfect base.
The thickness of the mortar bed should be between 15mm and 30mm, depending on the product guidelines and the width of your desired slab. It is crucial to ensure that the base is level using a spirit level during this stage. It's good to lay the mortar bed one slab at a time, rather than all at once, to help you keep a steady pace.
Step 3: Prime Your Tiles
Porcelain requires extra attention before being laid in its final position, as it has a non-porous surface which makes it less adhesive to the mortar base compared to other paving slabs, such as natural stone. Before laying your porcelain floor tiles on the mortar bed, prime the bottom side with a slurry primer, this will help the tile stay stuck in place.
Step 4: Start Laying Your Tiles
Starting at one end of the area, lay the first row of porcelain paving slabs, making sure they are level and evenly spaced. A good way to do this is to use spacers to ensure even gaps of around 3mm-5mm between the slabs.
We also recommend that you lay the slab into position, one corner at a time – to ensure accurate placement! To ensure all your porcelain tiles are evenly laid on your mortar bed, we recommend using a rubber mallet to gently tap down across the tile. This will help avoid any gaps of air and an uneven patio.
Step 5: Check The Levels
Once you've positioned all the slabs, it's important to make sure that each porcelain tile is level with both the ground underneath and the adjacent tiles. This prevents any potential trip hazards that could arise from uneven slabs. To get a level surface, use a spirit level to check each tile's position.
This process may take some time, but it's necessary to ensure your paving and decking is safe to use. Once you've checked each tile, you can move on to removing any leftover primer on the pavers' surface.
Step 6: Add Your Grout
Grouting the joints is a crucial step in your patio installation, as it provides a waterproof seal, can help with weather resistance, stop weeds from growing between tiles, and adds to the aesthetic.
To grout your tiles, follow the manufacturer's instructions for the formula, and pour into a mixing bucket. Ensure that the mix is smooth and free of lumps, it should be a thick, creamy texture.
When your joint is dry, apply the grout using a rubber float or squeegee at a 45-degree angle to the surface, making sure to press the grout firmly into the gaps. Wipe any excess mixture off the face of the paving using a clean wet sponge. It's important to note, that you should only begin grouting when your priming slurry or adhesive is fully set.
Step 7: Let It Dry
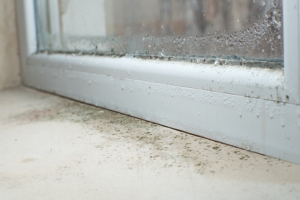
Now all the hard work is out of the way, you can leave it to dry for 24 hours, making sure that no one walks across it. Similarly, if it looks like it may rain, cover the entire area with tarpaulin, to stop any rainwater from seeping through the joints and into the mortar beneath.
Things To Remember...
Don't Pave In The Rain!
If it is forecasted for wet weather, avoid doing any work in your garden involving mortar and cement, as if the paste gets too wet, it won't stick properly, and ruin the consistency you need to keep your tiles secure.
Check Your Measurements
Some slabs are thicker than others, which will require a deeper area to place your patio and different measurements when it comes to your cement/mortar ratio. Always plan ahead of time how much space you will need for your garden design, and all the measurements to go with it!
Now you're all 'set' with this step-by-step guide, you can get started with your own paving project. However, if you feel you're not up to the task, it's always a great idea to hire a team of professionals to help you, to ensure you get the desired look that you want for your space.

Short Code:
Credit Limit:
Current Balance: