Pedestal Support Systems: How To Lay Porcelain Paving
In this blog, we explore another way of laying porcelain paving, Pedestal Support Systems. This method can allow for better water drainage and accessibility, to find out more...keep reading!
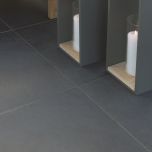
Porcelain is a high-quality manmade material, when the tiles are created they are fired at extremely high temperatures in order to make it resistant to all weather, stains, and scratches. This makes porcelain a popular choice in terms of landscaping and decorating.
There are two main methods when it comes to laying porcelain garden tiles, being Mortar Laying and using a ‘Pedestal Support System'. In this article, we talk you through how to set up a pedestal support system, and why it is a great choice when setting up your paving tiles.
What Is A Pedestal Support System?
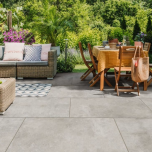
A pedestal support system is a method that enables the laying of large-format outdoor tiles and paving slabs without any need for grout or adhesive. This method has gained significant popularity in the UK for paving and decking gardens and terraces.
These systems are easy to install and can be carried out by DIY enthusiasts with the right tools. Both pedestal and rail-raised support systems need minimal preparation and can be installed in most weather conditions, including rain, unlike the mortar laying method.
Installing porcelain paving using pedestal systems involves a few simple steps...
How to Install A Pedestal Support System
Step 1: Prepare An Even Base
First, clean the area where you will be installing the pedestal support system. Make sure there is no debris or dirt on the surface where you will be laying your patio.
It's important to note that this method of laying outdoor porcelain tiles can only be used on concrete or strong-level surfaces, as the unstable ground can cause the pedestals to move and damage the subframe structure and safety.
A quick way around this if you have a softer surface in your outdoor space, is to pat down grass or soil until firm, and cover the proposed area with a layer of quick-drying cement as a base.
Step 2: Plan Ahead And Measure Your Area
You can use chalk to lay out the placement of your pavers. Mapping this out before putting anything in position can help you find the best area for placing your pedestal supports, making sure to establish the border and corner supports accordingly.
You want to plan ahead with this step, as there is nothing worse than having the wrong size of tiles, or space for your patio...
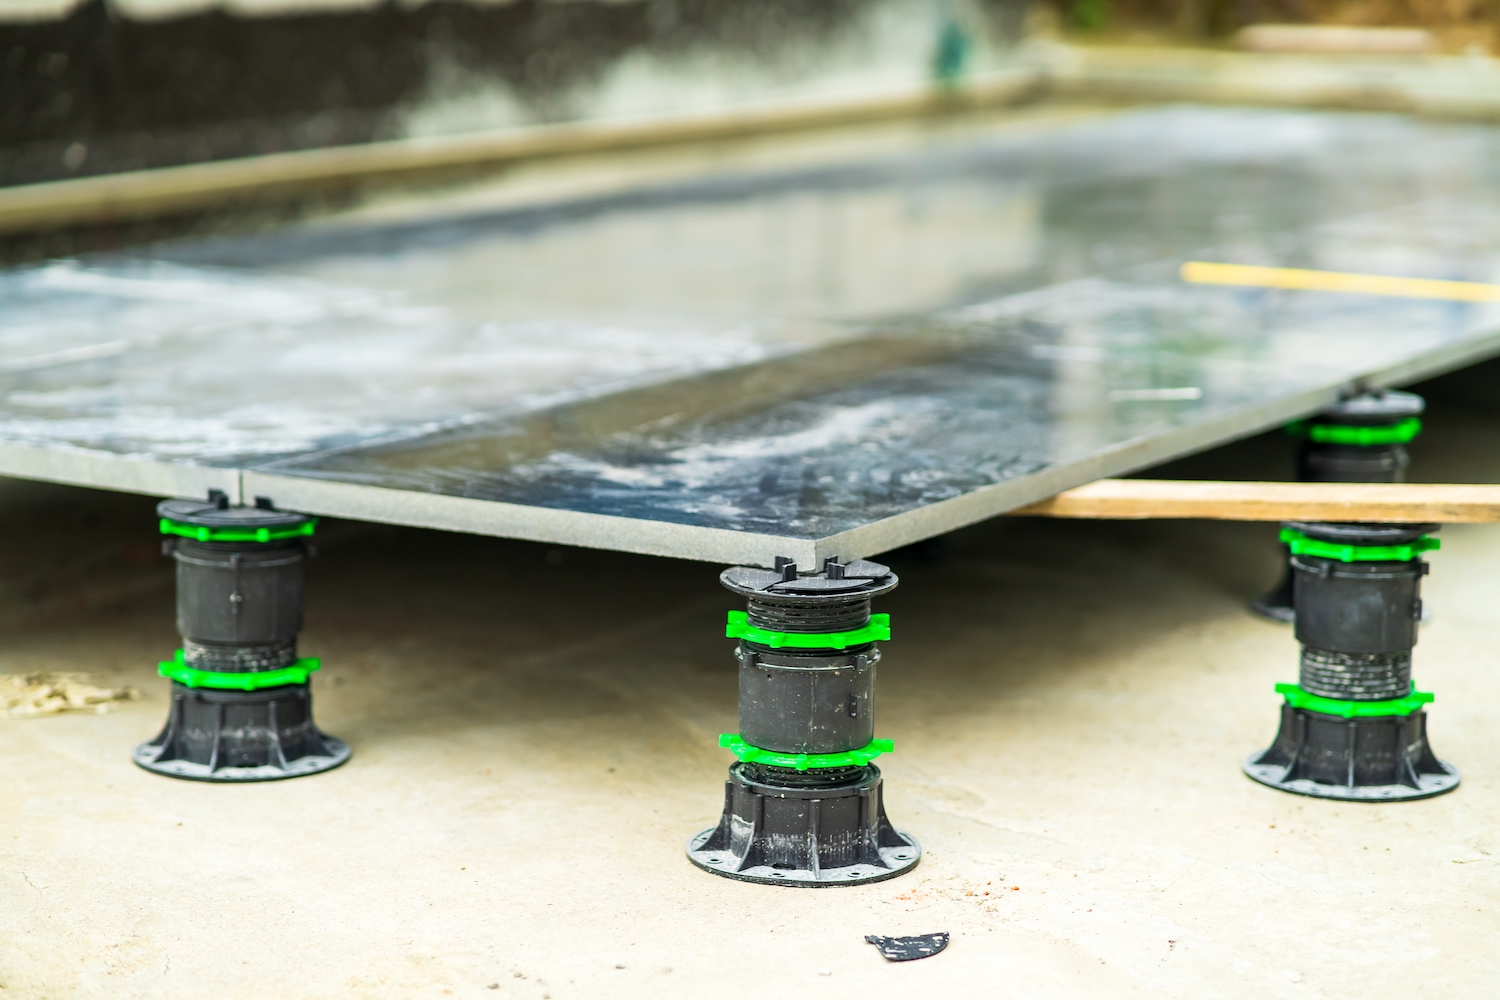
Step 3: Place Your Pedestals
Position the pedestals along the perimeter and the intersections where you will be laying the paving stones. Setting up the pedestals first will provide an easy guide when it comes to laying your tiles down!
Each tile will need a pedestal in each corner, and one in the middle to support the base, however, this may vary on the size of your tile. For example, a large slab will sometimes need up to 8 pedestals to make sure it is fully supported.
When doing this step, use a spirit level to make sure all your adjustable pedestals are the same height, so your tiles will be nice and flat. Most pedestals will have height adjustment features, so you can make any changes and tweaks you need!
Step 4: Lay Your Tiles
Once your pedestals are in position, you can lay your tiles on top of them. As you begin to lay tile after tile, the pedestal clips allow small gaps in between them, these should be around 2mm. This lets water run through the gaps, making them easy to clean, and more slip resistant.
an extra benefit of using this system is that the tiles are raised from the ground, allowing you to have pipes and wiring tucked discreetly underneath.
This is a simple process, as long as you have mapped out where your pedestals should be with care.
Step 5: Check The Levels
After your tiles are placed, use your spirit level again to check the height and arrangement of each tile, they should all be flat and even with no tiles dipping or wobbling when walking across.
This step is as it ensures your patio is stable for both safety and if you are looking to place any furniture on top.
It's important to note that specific instructions may vary depending on the type and brand of the raised support system you are using, so be sure to follow the manufacturer's instructions carefully.

If you're thinking of incorporating porcelain into your garden this summer, head over to our landscaping page, where you can find a wide range of tools and accessories to help you along the way! Don't hesitate to contact our team at GPH for paving support or decking tips, we are always happy to help with advice!
Short Code:
Credit Limit:
Current Balance: